
The lead time for an industrial boiler is rarely a single figure: it is the sum of seven stages, each with its own technology and its own inspection points. Below we walk through that route as it looks from inside Boilte Manufacturing: a 22,000 m² site, 180 machine tools, 420 people, up to 1,000 boilers a year. You will see what happens to your order at each stage, how it is handed between shops and which documents accumulate by the time it is dispatched.
Why the lead time is made up of seven stages rather than a single date
Some operations run in parallel, others strictly in sequence: steel cannot be cut before the documentation is approved, and the shell cannot be closed in with cladding before the welds have passed inspection. The breakdown into stages exists for your planning: you can see when a change can still be made without losing time, and when it means reworking finished parts.
- Engineering
- Design and material preparation — 5–14 and 3–5 days. This is where geometry, steel grades and cutting nests are defined.
- Metalwork and welding
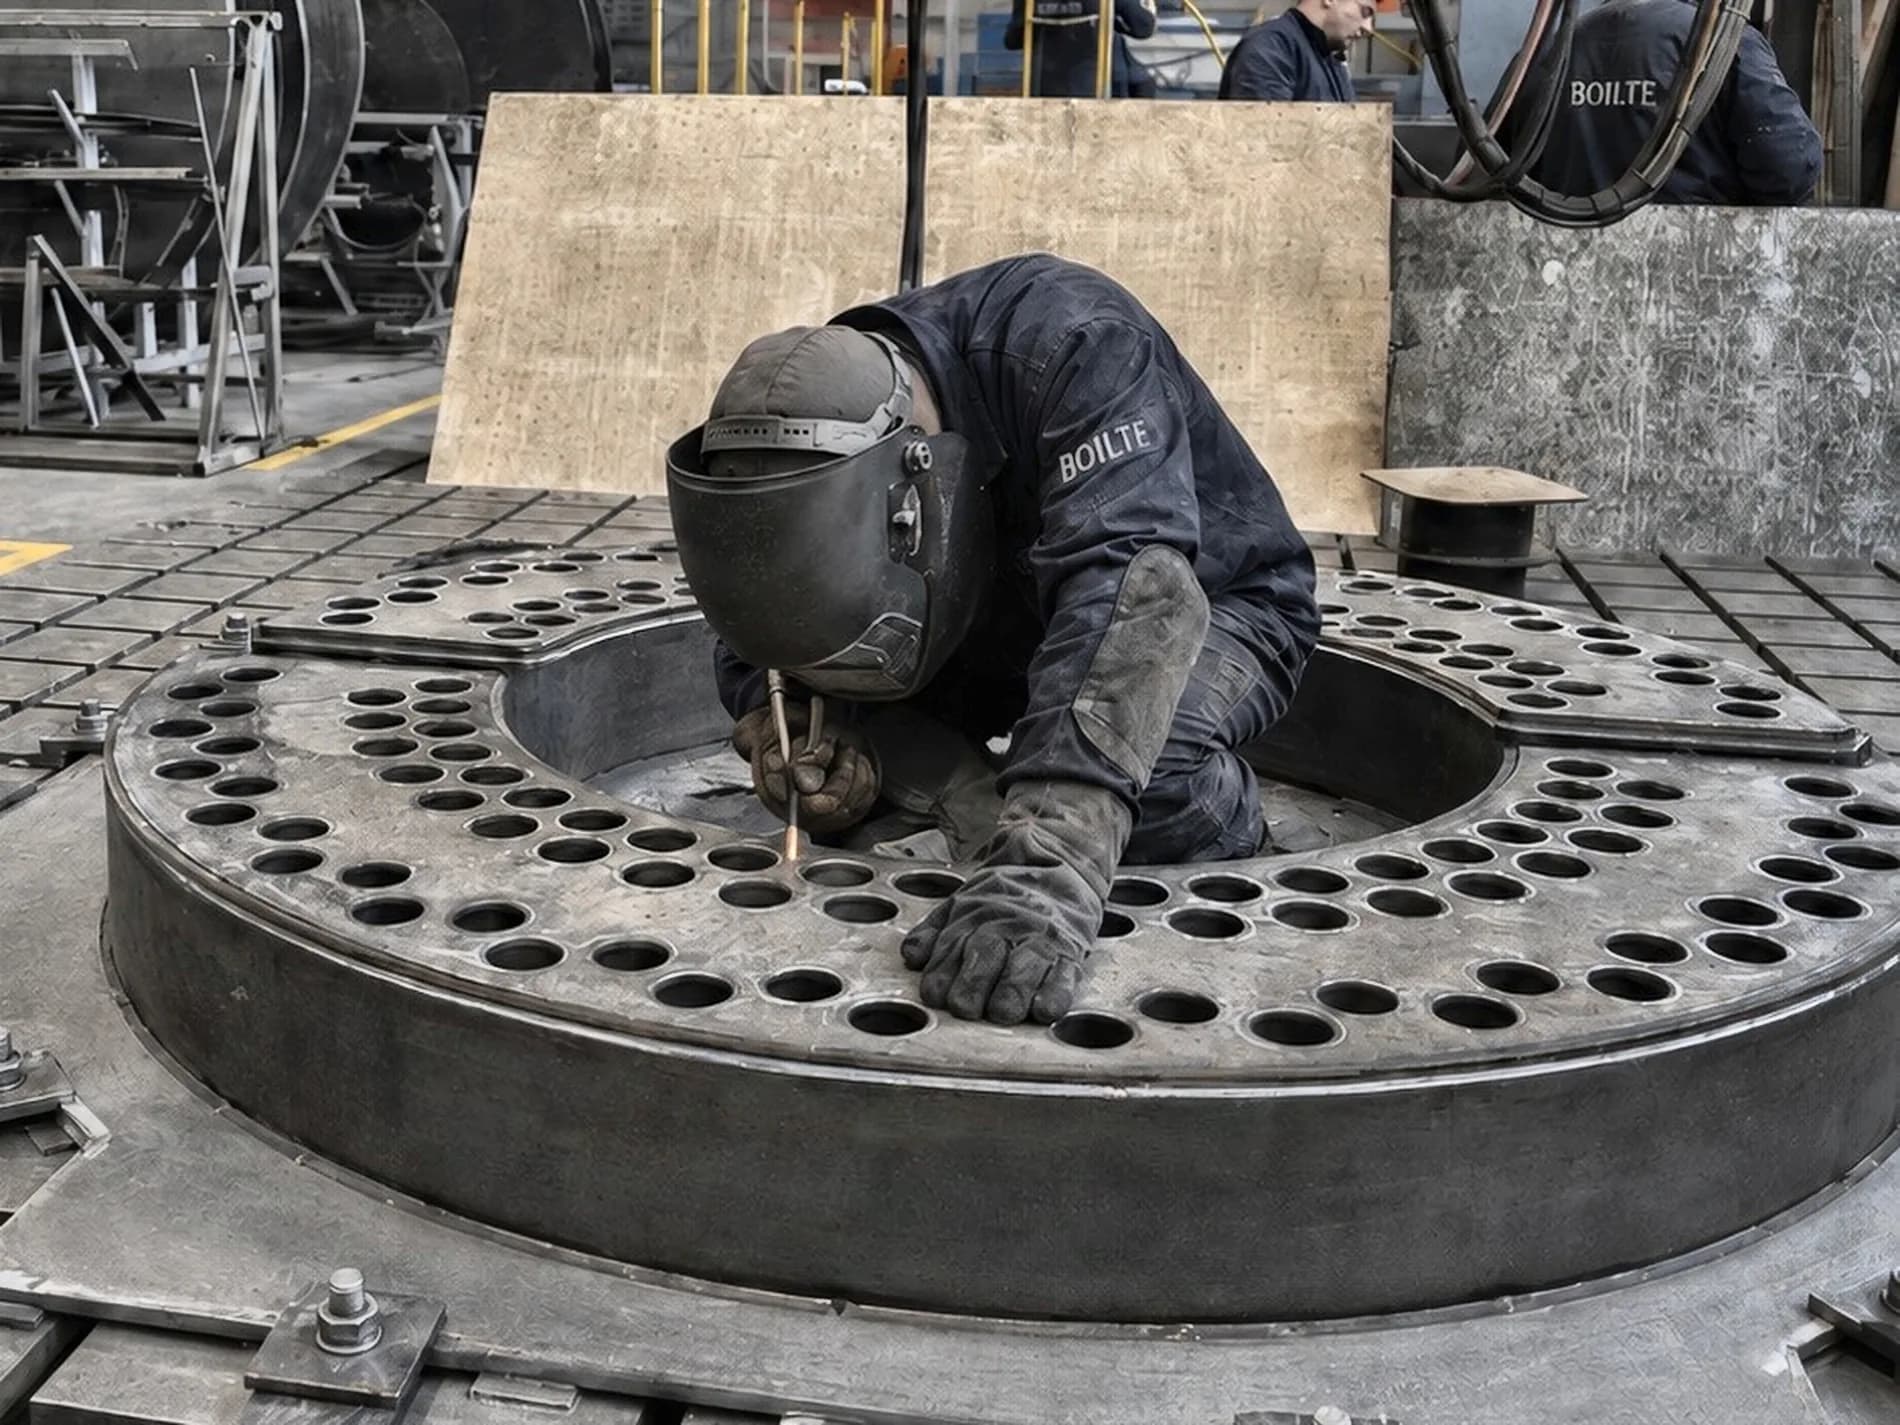
- Shell and heat exchanger — 10–20 days. The longest stage: this is where the pressure-retaining envelope is formed.
- Assembly
- 5–10 days for the furnace, convective section, doors, insulation, cladding, ladders and platforms.
- Testing
- 2–4 days for the hydrostatic test, radiography of critical welds and the tightness check.
- Finishing and dispatch
- Painting and packing — 3–5 days, followed by dispatch and installation to the agreed logistics plan.
What happens before the first cut of steel
The first two stages never appear in workshop photographs, yet they decide whether the boiler will match your operating regimes. An error in the calculation cannot be compensated for by good welding, and an error in the steel grade cannot be compensated for by accurate assembly.
Design and engineering: 5–14 days
Work begins with thermal and strength calculations for your parameters: output, pressure, temperature, fuel and load profile. The design team then builds a 3D model in Inventor and issues documentation in which every part is marked. That marking makes it traceable which plate a given part was made from.
- FEA analysis
- Stress and strain analysis reveals zones of stress concentration before anything is manufactured.
- Pressure calculation
- Wall thicknesses are confirmed by calculation for working and test pressure, not chosen by analogy.
- Approval with the client
- You approve the general arrangement, the position of the nozzles and the service side before production starts.
Material preparation: 3–5 days
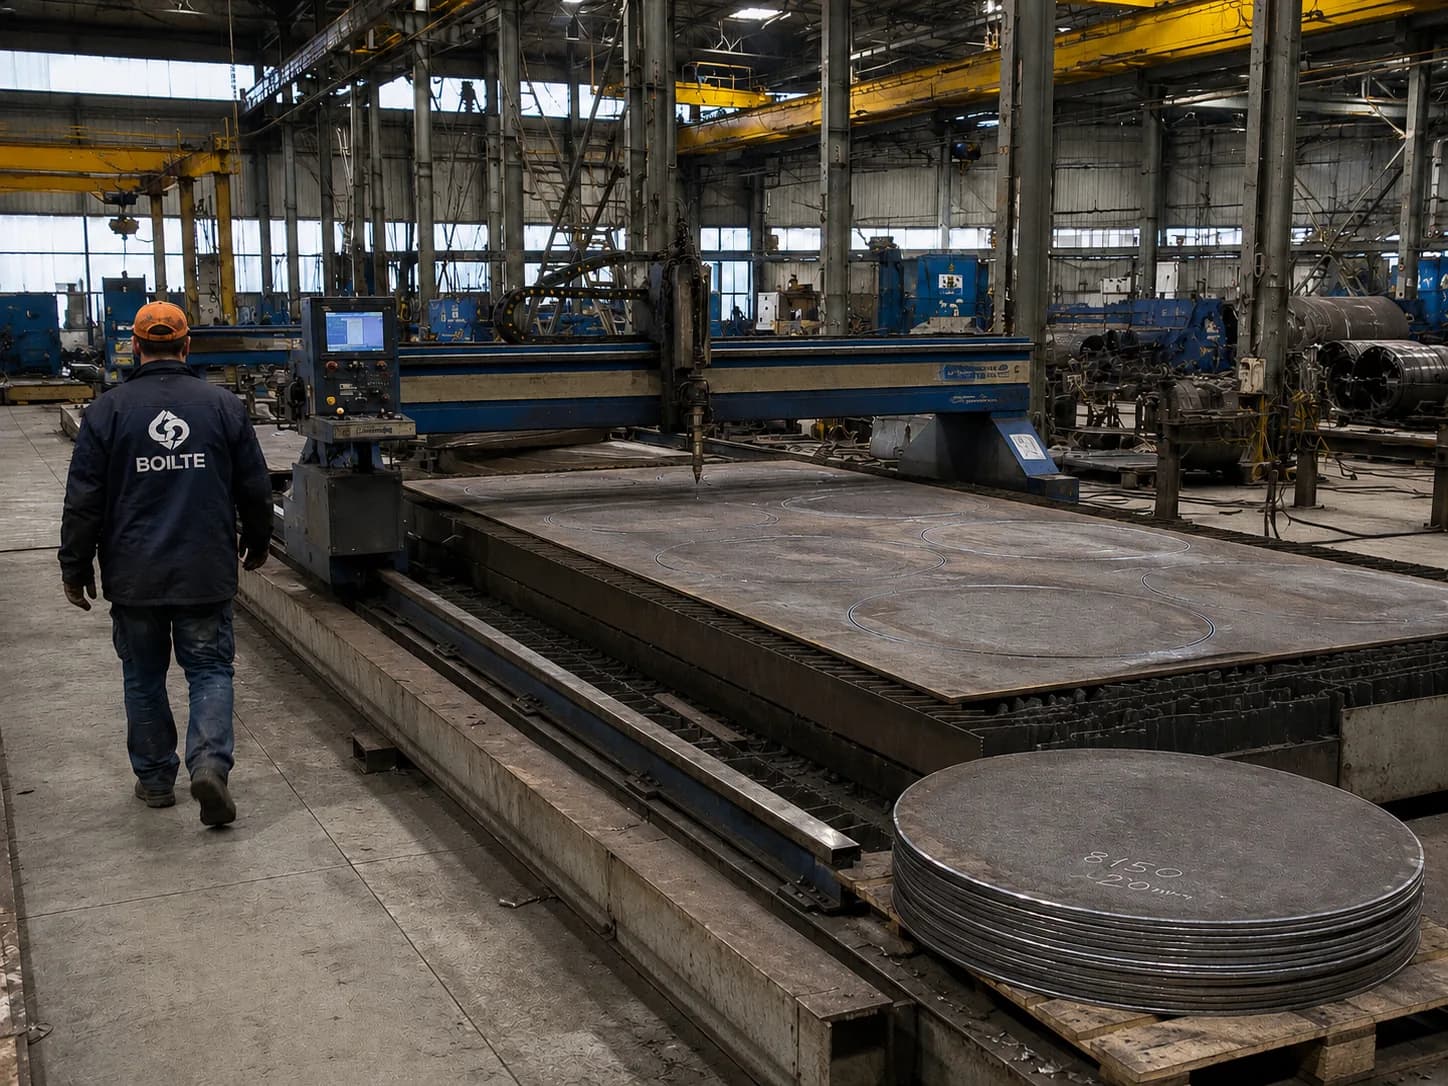
Pressure-vessel steel goes through incoming inspection before it is released to production: we verify certification to EN 10028-2 and confirm the actual composition of the metal instrumentally. Cutting is carried out on CNC plasma and laser machines to a tolerance of ±0.5 mm. Accuracy saves time later: parts come together without adjustment in place, and gaps stay within the range the welding procedures were qualified for.
- Material certificate
- A batch is accepted with traceability down to the heat; the data is carried over into the boiler documentation.
- Spectral analysis
- Rules out mixed grades of steel, which cannot be identified visually.
- Cutting inspection
- Part dimensions and edge preparation are checked against the cutting nests before release to the welding shop.
How a flat plate becomes a shell that holds pressure
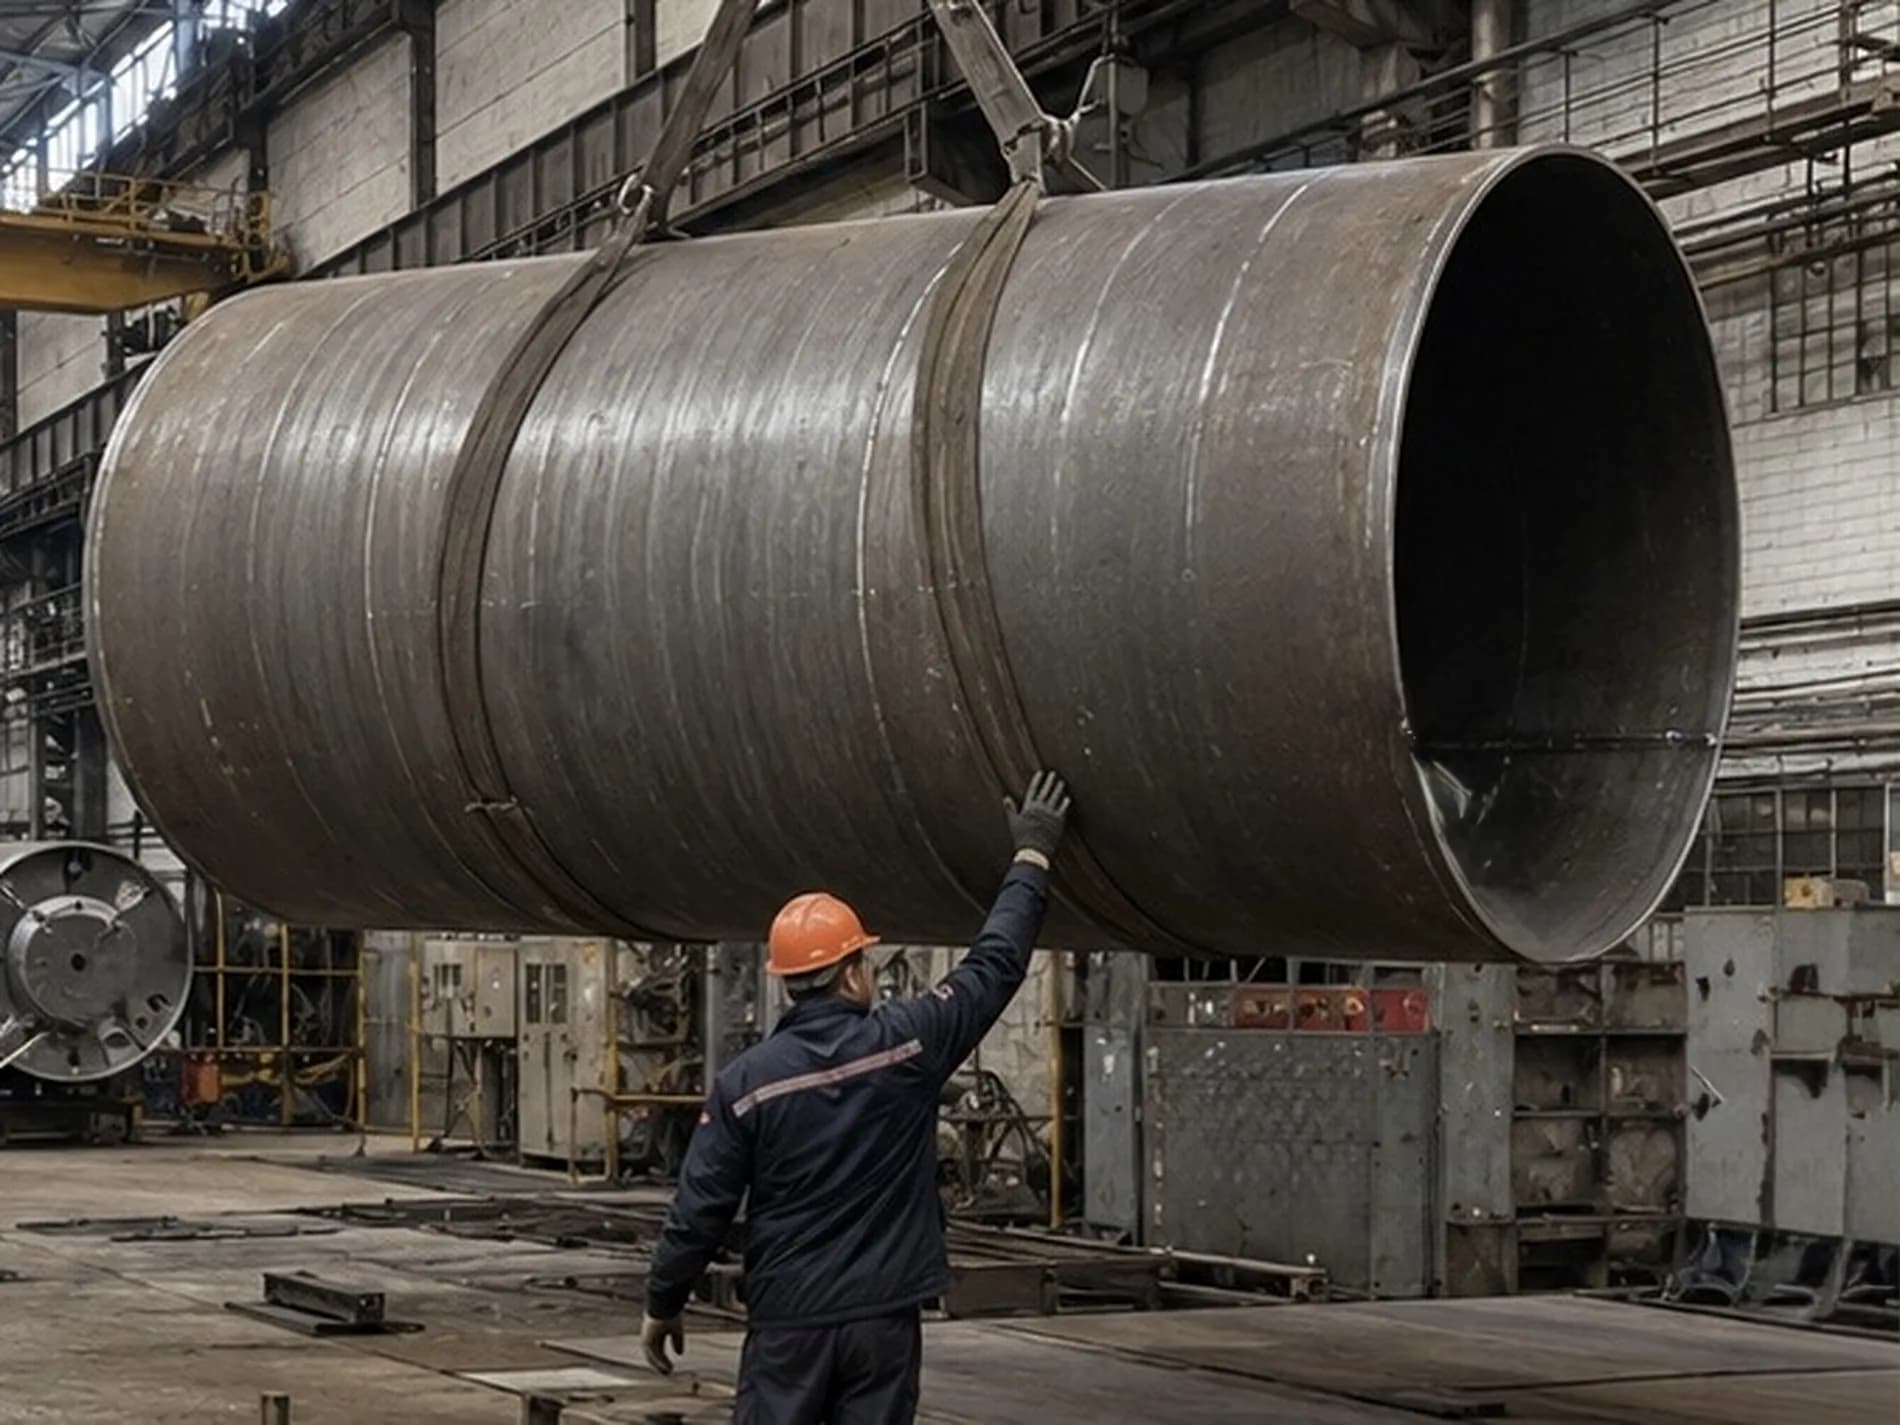
Manufacturing the shell and the heat exchanger takes 10–20 days: rolling, bending and welding. Longitudinal seams are made by automatic submerged-arc welding — the machine holds current, travel speed and wire feed steady along the whole length of the weld, so quality does not depend on how tired the welder is. For long seams that is decisive: they carry the main load from pressure.
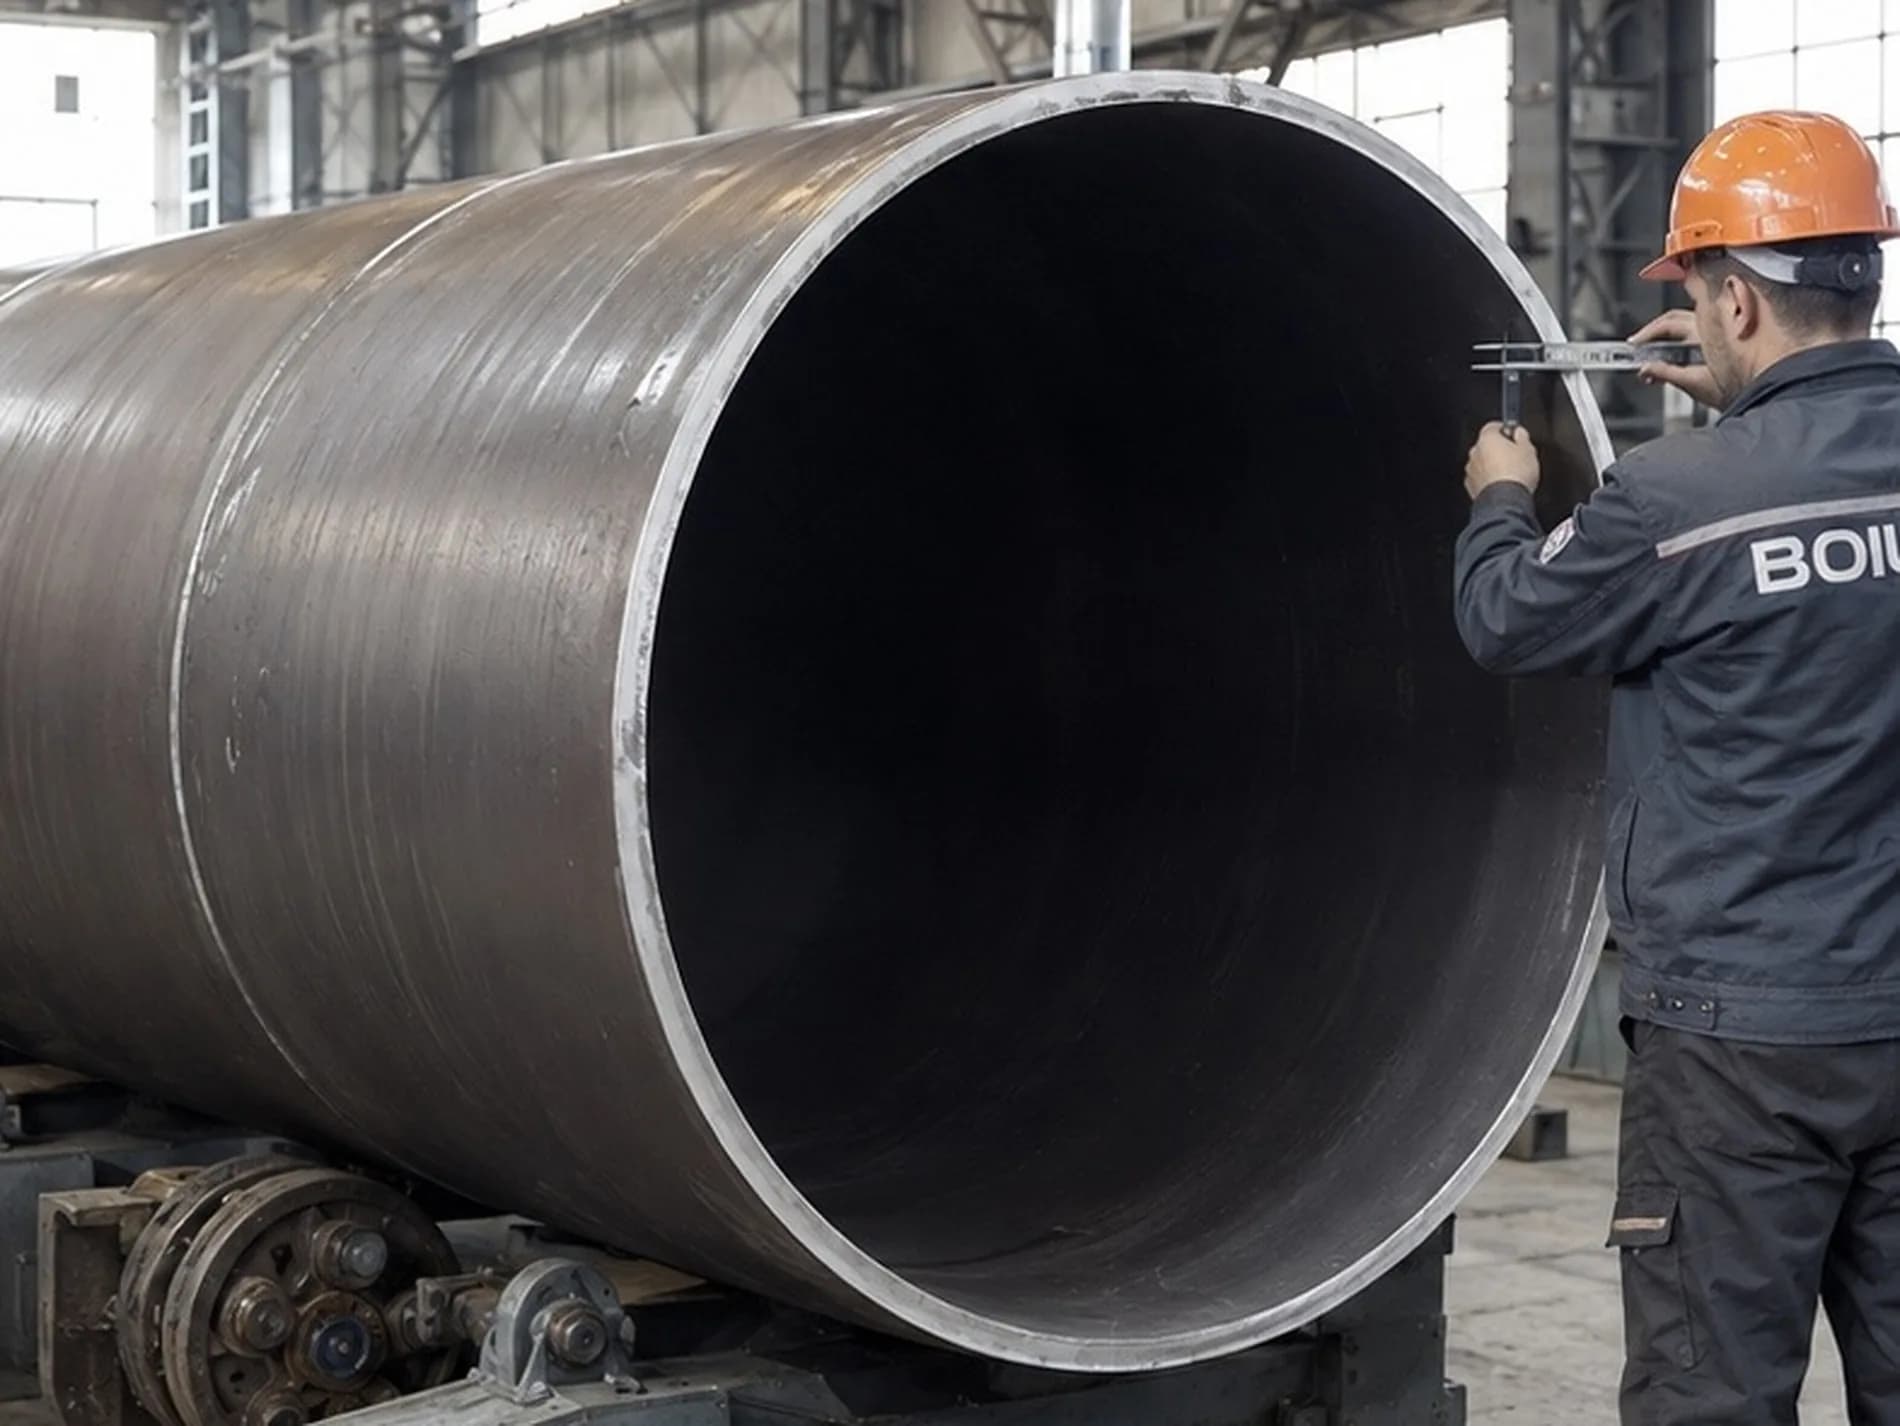
We check geometry while the structure is still accessible for measurement. A deviation in a shell course that can be corrected now would require the assembly to be taken apart once the internal components are fitted. For that reason the shell does not move on to assembly until three items have been closed out.
- Geometry after assembly
- Diameters, ovality, alignment and linear dimensions are checked against the drawing.
- Ultrasonic testing of longitudinal welds
- Ultrasound confirms the absence of internal defects in the loaded joints.
- Visual inspection
- Welds are examined against reference specimens and gauges; the result is recorded in the documents.
Assembly: what turns a pressure envelope into a finished product
Five to ten days are allowed for assembly. The furnace, convective section and doors are fitted, thermal insulation and cladding are installed, and ladders and service platforms are hung. This stage decides how easy the boiler is to live with: the position of platforms and access doors determines the time spent cleaning heating surfaces. A door that does not seal means air ingress and a loss of efficiency.
Inspection here comes down to three things: clearances in bolted joints, the quality of the insulation, and conformity of the unit to the drawing. The last of these is checked before painting — a discrepancy is harder to find under enamel, and on site it turns into an installation problem.
Why testing takes a separate 2–4 days in the schedule
The boiler is subjected to a hydrostatic test at 1.5 × working pressure, critical welds are radiographed, and tightness is confirmed by a pneumatic test. We do not combine this work with assembly: testing is the only moment when the unit can be loaded as a whole on the works test rigs rather than in your boiler house.
If inspection finds a deviation, the defective length of weld is removed and re-welded, and the check is then repeated in full. Returning the unit to the previous section can push out the dispatch date — and that is better than shipping a unit with an unverified weld.
Painting, packing and dispatch: how the boiler arrives in as-designed condition
Painting and packing: 3–5 days
Before painting, the surface is shot-blasted to Sa 2½. Adhesion is governed by surface preparation: paint applied over mill scale flakes off within the first seasons. Primer and topcoat are then applied to suit the operating conditions — heat-resistant coatings for hot zones, acid-resistant ones for aggressive atmospheres.
- Surface profile
- The roughness of the surface is checked before the primer goes on.
- Coating thickness
- Measured layer by layer: too little shortens the life of the coating, too much leads to cracking.
- Adhesion
- Confirms that the coating will last its intended life rather than coming away on the first thermal cycles.
Dispatch and installation: to the agreed logistics plan
The mode of delivery is chosen to suit the dimensions of the unit and the route: by road or by rail. Timings here are set by logistics and by the readiness of the site, so we calculate them for your address. Supervised installation and commissioning are carried out by our own engineers — the same people who are accountable for the design. On site, the handover, the installation checks and the commissioning certificate are completed.
How the order is handed between shops and what stays with you in the documents
The transition between stages is the point where information is most often lost. Every handover is formalised: the next section receives not "a batch of parts" but a set marked to the documentation, together with the inspection results from the previous stage. The paint shop receives a unit only once testing has been closed out.
Everything measured along the route goes into the manufacturer's data book and the as-built documentation: material and certification data, inspection and test reports, coating records, as-built drawings, and the handover and commissioning certificates. With that set you satisfy the notified body and local pressure-equipment authorities, and you can substantiate any warranty claim.